
Wall width gets all the attention. It’s the number people quote first and the one they assume determines what fits. In practice, ceiling height decides more about how a wardrobe works, because it dictates what can go inside it rather than just how much of it there is.
A wall that’s 300mm shorter than expected costs you a little storage. A ceiling that’s 200mm lower than expected can rule out an entire hanging configuration.
Measure It in More Than One Place
Ceiling height is almost never uniform across a run. Floors settle, ceilings sag slightly, and screed levels vary. A variation of 10mm to 20mm across a few metres is completely normal, and in older homes it can be considerably more.
This matters because a full-height unit has to fit at the lowest point. Build to the tallest measurement and the unit won’t go in. Build to the lowest and you need a way to deal with the gap that appears at the other end.
One thing worth flagging early: measure against the finished floor level. If new flooring is going in after the furniture, the height available changes, and thick carpet or an underlay can eat 20mm or more.
What Changes Around 2400mm
Most modern Irish homes have ceilings around 2400mm, and that number sits right on a threshold.
The working figures are straightforward:
- Full-length hanging needs about 1700mm from rail to floor
- Short hanging needs about 1000mm, which allows a second rail or drawers below
- Double hanging means two 1000mm sections, putting the top rail at roughly 1950mm to 2000mm
At 2400mm, double hanging works, and there’s still room for a shelf above it. Drop to 2200mm and that shelf becomes marginal. Drop further and you’re choosing between double hanging and any top storage at all, rather than having both.
This is why height should be measured before a layout is drawn rather than after. It changes what’s possible, not just what’s comfortable.
The Gap at the Top
If a wardrobe stops short of the ceiling, something has to happen to the space above it. There are three usual approaches.
- Leave it open. Cheapest, and it gives somewhere to put suitcases. It also becomes a dust shelf that nobody cleans and it makes the unit look like furniture placed in the room rather than part of it.
- Fill it with a top box. A separate bridging unit closes the gap and adds enclosed storage. It needs its own doors and it’s the most common solution.
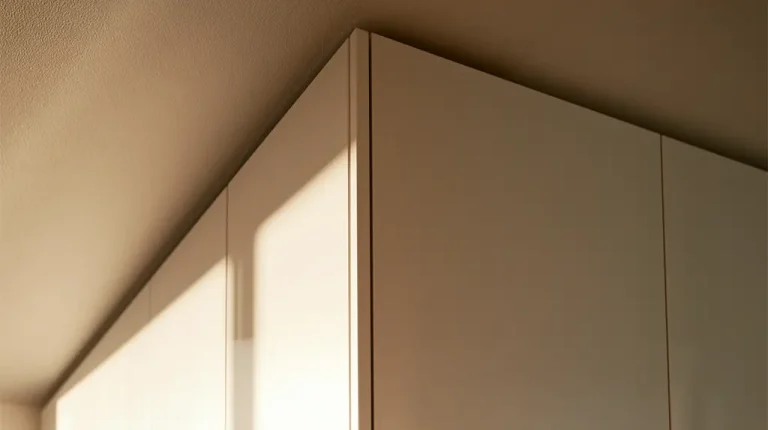
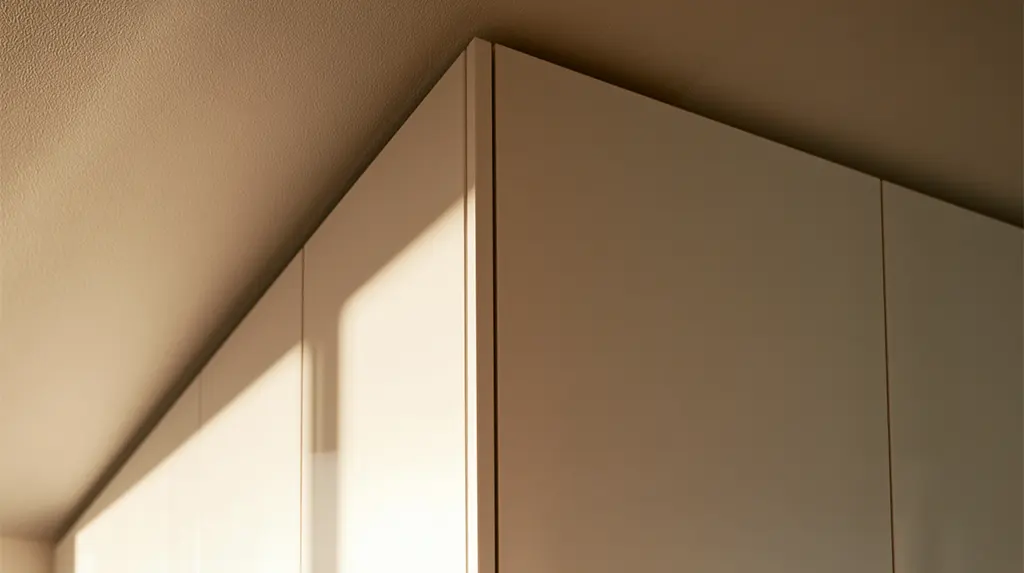
- Run to the ceiling. The cleanest result and the most storage, but it demands accurate measurement and careful scribing at the top, especially where the ceiling isn’t level.
Running to the ceiling is usually worth it. The top section is rarely used daily, but enclosed storage that’s part of the unit is more useful and looks considerably better than an open ledge.
When Ceilings Are High
Above about 2600mm, the opposite problem appears. There’s plenty of height, but the top of the unit sits well outside comfortable reach.
Anything above roughly 1500mm from the floor needs stretching for, so a very tall wardrobe naturally divides into a daily-use zone and a long-term storage zone. That’s not a flaw, provided it’s planned deliberately. Seasonal clothing, bedding, and luggage belong up there. Everyday items shouldn’t.
High units also need internal lighting more than standard ones do, because the depth of shadow at the top is greater and ceiling lights reach it poorly.
Coving, Bulkheads and Everything Else Up There
The last thing to check is what’s already occupying the top of the wall.
Coving reduces the usable height or needs notching around, and it’s easy to overlook when measuring to the ceiling line. Bulkheads above doorways, boxed-in pipework, and sloped sections all cut into the available height in ways a single measurement won’t reveal.
None of these prevent a good result. They just need to be identified before the design is set, because working around them is straightforward at the drawing stage and expensive once panels are cut.
If you’re ready to transform your space, let’s get started.